Storms can cause significant roof damage, including missing/damaged shingles, gutters, and even collapses, compromising safety and home integrity. Promptly inspecting and repairing these issues is vital to prevent further deterioration, water intrusion, mold growth, and costly interior damages. This guide outlines the steps for storm damage roof repair: meticulously assess damage, source matching replacement materials, carefully remove damaged sections, replace shingles & flashing with sealing, inspect underlayment & reinforce framing if needed, conduct final checks for security & proper drainage, and maintain regular inspections to prevent future storm damage. For extensive or complex cases, consult a professional roofer specializing in storm damage assessments and repairs.
Roof integrity is vital for any home or building’s protection against the elements. Storm damage can leave significant impacts, requiring immediate attention to prevent further complications. This article guides you through the process of restoring your roof after storm damage, focusing on replacing damaged sections. From understanding the effects of storm damage and assessing repair needs, to sourcing materials and following a step-by-step restoration guide, we cover everything for effective storm damage roof repair.
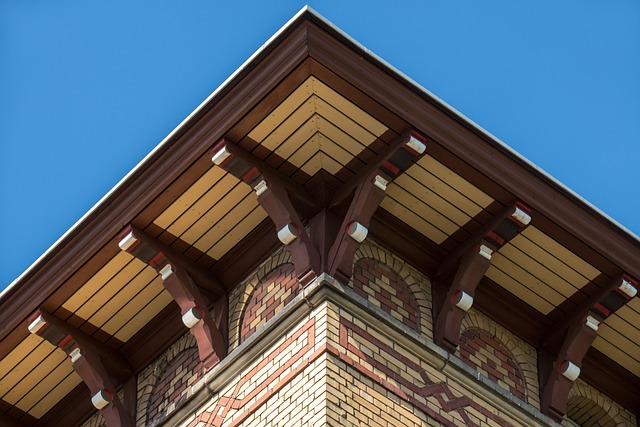
Understanding Storm Damage and Its Impact on Roofs
Storms, with their powerful winds and intense rainfall, can wreak havoc on homes, leaving behind significant storm damage roof repair needs. These natural occurrences often result in missing or damaged shingles, torn gutters, and even complete roof collapses. The impact of such damage extends beyond just aesthetic concerns; it compromises the structural integrity of a building, creating potential safety hazards.
Properly addressing storm damage is crucial to ensuring the longevity of your home’s roof. Prompt inspection and repair not only protect against further deterioration but also prevent water intrusion, mold growth, and costly interior damages. Understanding the extent of the storm damage is the first step in restoring your roof’s integrity, allowing you to make informed decisions for effective and durable repairs.
Assessing the Scope of Repair: Identifying Damaged Sections
When assessing the scope of repairs needed for a storm-damaged roof, the first step is to carefully inspect the entire structure to identify the extent and location of the damage. Look for missing or damaged shingles, flashing, or gutters. Storms can leave behind a trail of debris that may have become embedded in the roofing material, so it’s crucial to clear away any twigs, branches, or other foreign objects. Pay close attention to areas where the roof meets walls or chimneys, as these joints are particularly vulnerable during severe weather events.
Use a ladder and a keen eye to examine the roof from multiple angles, looking for signs of water intrusion, which could indicate weakened spots or further damage beneath the surface. Remember that storm damage can be subtle; sometimes, a visual inspection might not reveal all the issues. In such cases, it’s beneficial to consult with a professional roofer who has experience in storm damage assessments and repairs, especially when dealing with complex or extensive roof damage from storms.
Sourcing and Preparing Replacement Materials
When it comes to storm damage roof repair, sourcing and preparing replacement materials is a crucial step in restoring your home’s integrity. The first order of business is to identify suitable materials that match both the type and style of your existing roof. This involves assessing the damaged area to understand the specific requirements for replacement—be it shingles, flashing, or underlayment. Once determined, professionals can procure materials from trusted suppliers who offer a variety of options, ensuring you get high-quality products fit for the task.
Preparation is key; materials must be carefully inspected and cleaned to meet restoration standards. Shingles, for instance, should be free from debris and damage, while underlayment requires proper sealing to prevent moisture intrusion. This meticulous approach ensures that when new sections are installed, they seamlessly integrate with the existing roof, maintaining its structural integrity and aesthetic appeal.
Step-by-Step Guide to Restoring Roof Integrity
Restoring roof integrity after storm damage is a crucial step in ensuring your home’s protection and safety. Here’s a straightforward guide to help you navigate this process:
1. Assess the Damage: Start by thoroughly inspecting your roof for any visible signs of storm damage, such as missing shingles, broken tiles, or damaged flashing. Take note of the extent of the damage and identify any potential weaknesses or structural issues that require attention.
2. Gather Materials: Based on your assessment, create a list of materials needed for repair. This might include replacement shingles, underlayment, nails or screws, caulk, and roof cement. Ensure you have all necessary tools as well, such as a ladder, safety gear, and a hammer. For severe cases, consider professional assistance to avoid further damage.
3. Remove Damaged Sections: Carefully take out the damaged or missing shingles, being mindful of any hazardous debris that could fall. Use appropriate safety equipment during this process. Once removed, clean the area to ensure there’s no remaining debris that might compromise the new materials.
4. Replace Shingles and Flashing: Install new shingles, ensuring they overlap properly. Secure them with nails or screws, following manufacturer guidelines for proper spacing. Similarly, replace any damaged flashing around chimneys or vents using roof cement for a watertight seal.
5. Inspect Underlayment and Structure: Check the underlayment for any tears or moisture signs. If necessary, replace it to maintain a dry interior space. Assess the structural integrity of the roof framing, repairing or reinforcing as required to restore stability.
Final Checks and Maintenance Tips for Longevity
Before finalizing any storm damage roof repair, conduct thorough final checks to ensure all components are secure and intact. Inspect for loose or damaged replacement materials, checking that all nails or screws are properly fastened. Verify proper drainage by examining gutters and downspouts to make sure they’re clear and functioning correctly, directing water away from the foundation. Regular maintenance is key to longevity; schedule periodic inspections to address any new issues promptly. Keep an eye out for signs of wear and tear, such as missing or damaged shingles, loose flashing, or wet spots in the attic or ceiling. Performing these checks and regular upkeep will contribute to a robust roof that offers reliable protection against future storm damage.
Restoring a roof after storm damage is a crucial step in maintaining your home’s integrity and protection. By understanding the impact of storm damage, assessing the affected areas, and following a meticulous restoration process, you can ensure your roof’s longevity. This guide provides a comprehensive framework for tackling storm damage roof repair, from identifying damaged sections to final checks and maintenance tips. With the right approach, you can restore your roof’s integrity and safeguard your home against future storms.